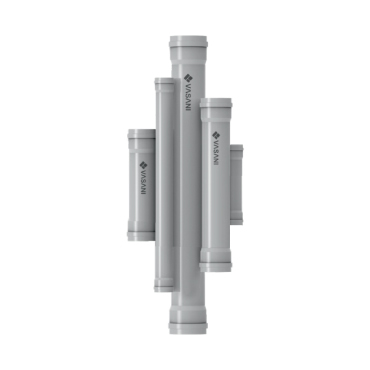
uPVC SWR Pipes & Fittings
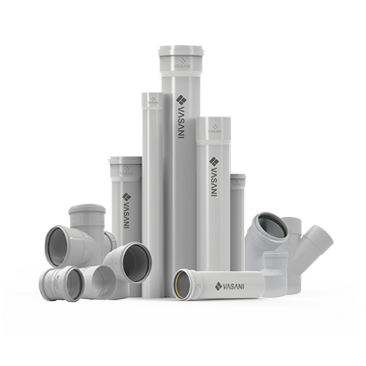
uPVC SWR Pipes & Fittings
Product Brief
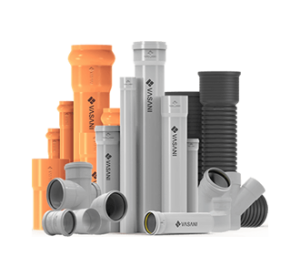
- HSN Code : Pipes- 39172390 & Fittings – 39174000
- Material: Unplastisized Poly Vinyl Chloride (uPVC)
- Pressure Rating: Type A & B
- Size: 40 mm to 160 mm
- Standard: IS 13592 : 1992
- Colour: Dark Gray
- Form Supplied: SWR uPVC Pipe in Type A and Type B with 3mtr to 6mtr length with one side balled ended.
uPVC SWR Fittings
uPVC SWR Fittings (Ringfit)
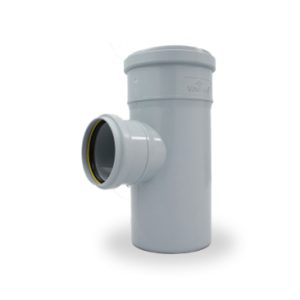
Reducer Tee
More Details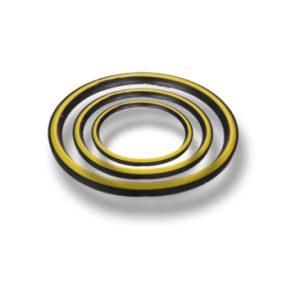
Rubber Ring
More Details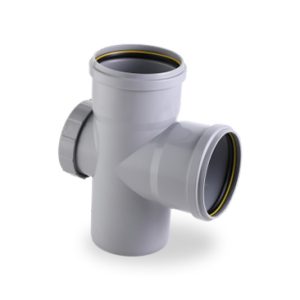
Single Door Tee
More Details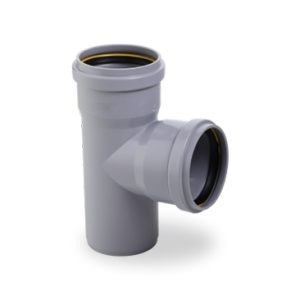
Single Tee
More Details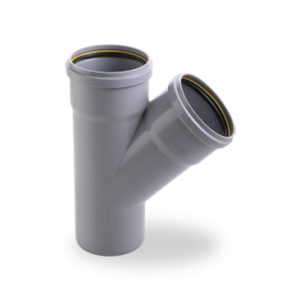
Single Y
More Details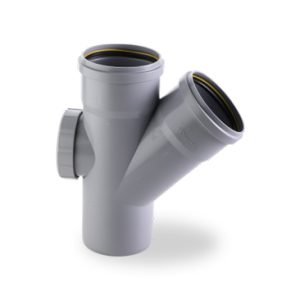
Single Y Door
More Details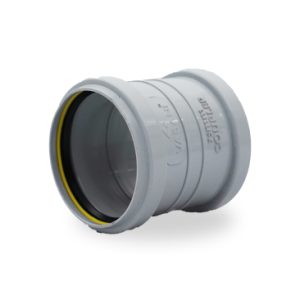
Socket
More Details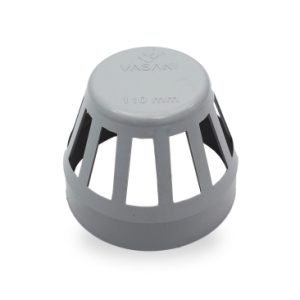
Vent Cowl
More Details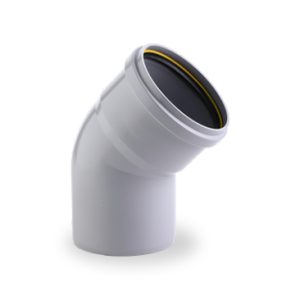
Bend 45
More Details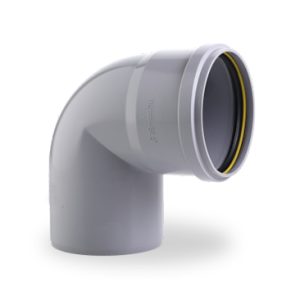
Bend 87 5
More Details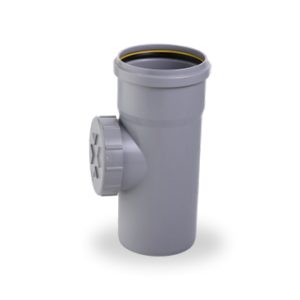
Cleansing Pipe
More Details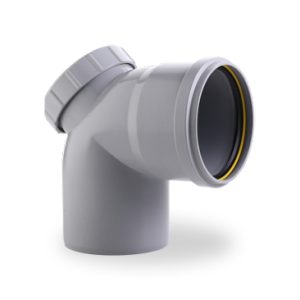
Door Bend 87 5
More Details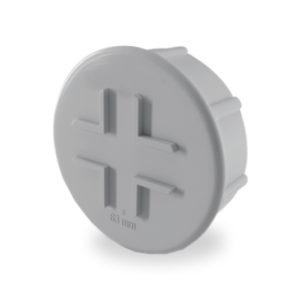
Door Cap
More Details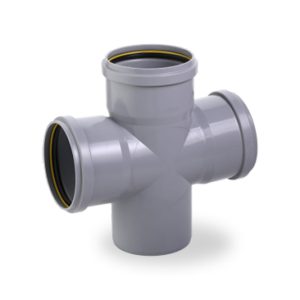
Double Tee
More Details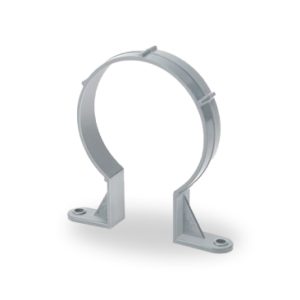
Pipe ClampMore Details
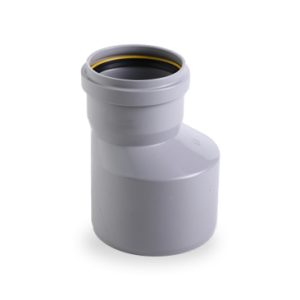
Reducer Socket
More DetailsuPVC SWR Fittings (Selfit)
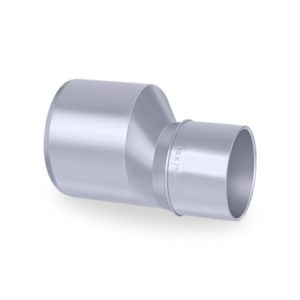
Reducer Socket
More Details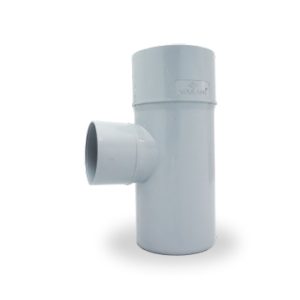
Reducer Tee
More Details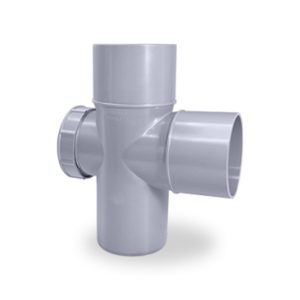
Single Door Tee
More Details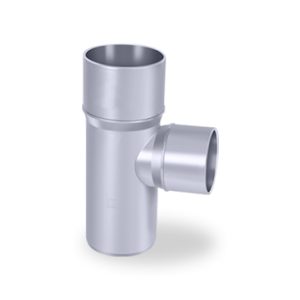
Single Tee
More Details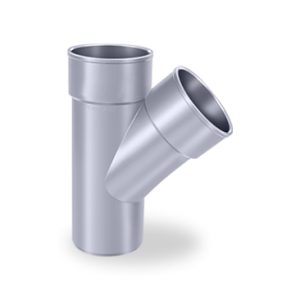
Single Y
More Details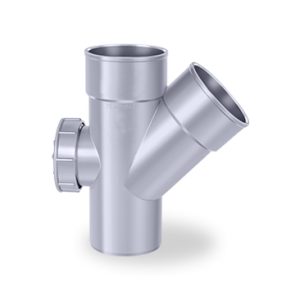
Single Y Door
More Details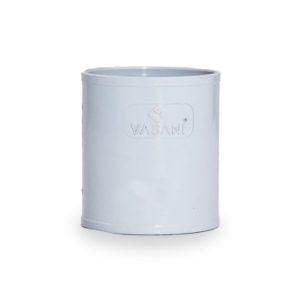
Socket
More Details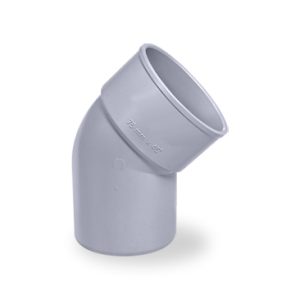
Bend 45
More Details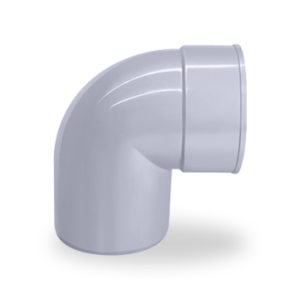
Bend 87 5
More Details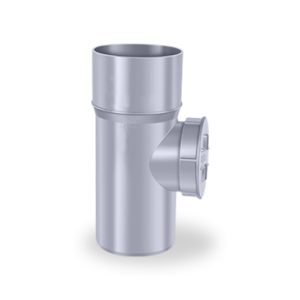
Cleansing Pipe
More Details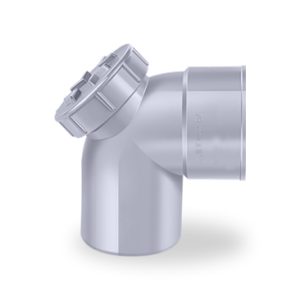
Door Bend 87 5
More Details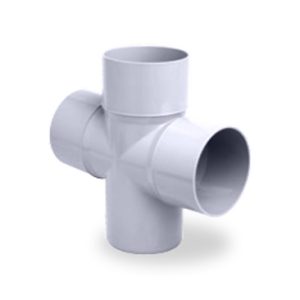
Double Tee
More Details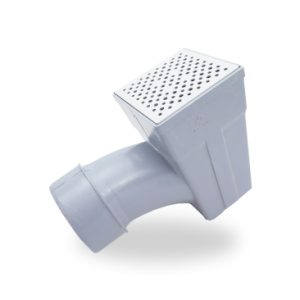
Gali Trap
More Details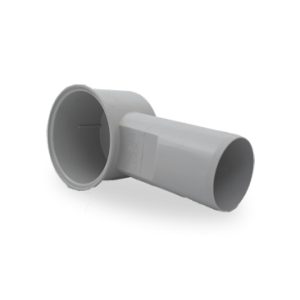
Nahani Trap Withoud Jali
More Details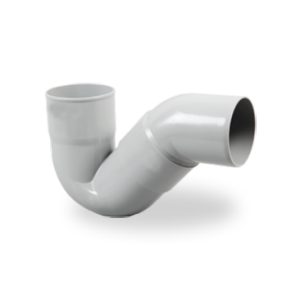
P Trap
More DetailsAdvantages
Strong, Durable and Maintenance free
Rough handling & high flow rate
Fire Resistance
Eco-Friendly, Light weight and cost effective
Easy to transport and install
Non- Corrosive, Does not rust
No need for solvent cement
Technical Details
Jointing
For Ringfit Pipes :
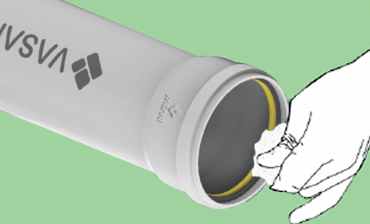
Cleaning
The surface dirt, grease or moisture must be removed with a clean dry cloth.
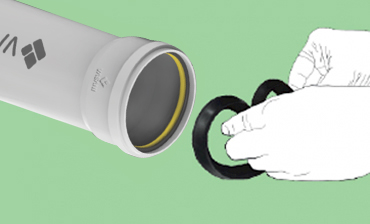
Rubber Ring fitment
Take rubber ring & clean for surface dirt of any & insert in pipe groove by hand.

Cutting
The pipe must be cut in a square shape. The base of the fitting socket needs a rubber ring to seal it, since an angled cut may result in leakage.
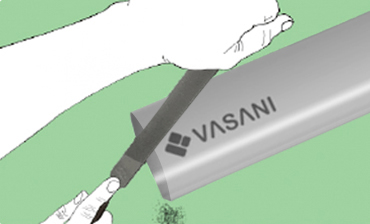
Chamfering and cleaning
The surface dirt, grease or moisture must be removed with a clean dry cloth. A 10° – 15° chamfer must be made at the end of the pipe.
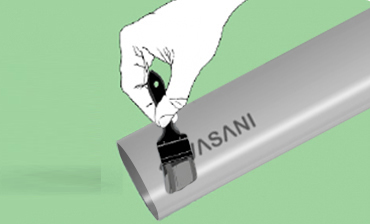
Lubricant application
Apply even layer of lubricant on rubber ring and outer diameter of pipe prior to insertion.
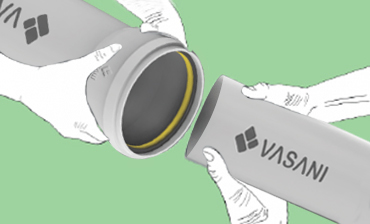
Assembly
Push the pipe in integrated ring socket till end.
For Selfit Pipes & Fittings

Measuring
Measure the required length of pipe and marking done.
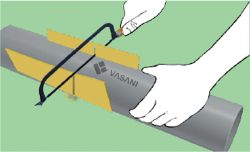
Cutting
The pipe must be cut in a square shape. The base of the fitting socket needs a rubber ring to seal it, since an angled cut may result in leakage.
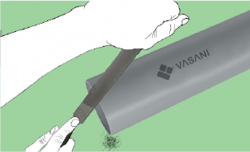
Deburring & Chamfering
All the burr must be removed from the inside and outside of the pipe with a knife, file or de-burring tool. A 10° – 15° chamfer must be made at the end of the pipe.
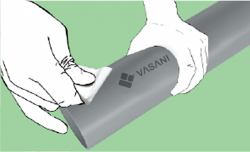
Cleaning
The surface dirt, grease or moisture must be removed with a clean dry cloth.
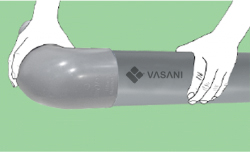
Check Dry Fit
Using light pressure, the pipe should be inserted one third to half the way into the socket. Note that pipes and fittings that are too tight or too loose should not be used.
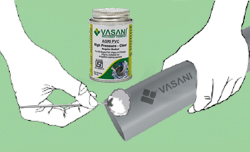
Solvent Cement Application
An even layer of cement should be applied to the outer side of the pipe and a medium layer of the solvent cement to the inside of a fitting.
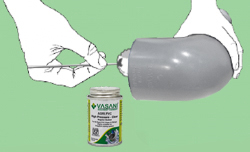
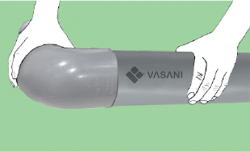
Assembly
Join the pipe and fitting socket till in contact with the socket bottom. Hold the pipe and fitting together until the pipe does not retract. The excess cement can be removed from the exterior surface of the pipe and fitting. A properly made joint will show a continuous bead of cement around the perimeter of the pipe and fitting.

